How to Do Deep Machine Learning Tasks Inside KVM Guests with a Passed-through NVIDIA GPU
 This article has been contributed by Lin Ma, Software Engineer and KVM Virtualization Specialist at SUSE.
This article shows how to run deep machine learning tasks in a SUSE Linux Enterprise Server 15 KVM guest. In a first step, you will learn how to do the train/test tasks using CPU and GPU separately. After that, we can compare the performance differences.
Preparation
But first of all, we need to do some preparation work before building both the Caffe and the TensorFlow frameworks with GPU support.
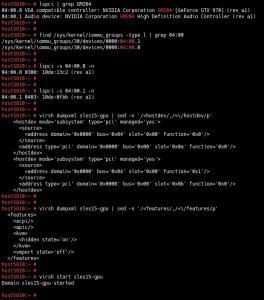
1- Enable vt-d in the host bios and ensure the kernel parameter ‘intel_iommu=on’ is enabled.

2- Pass the nv970GTX on to the SUSE Linux Enterprise Server 15 KVM guest through libvirt.
Note:
* If there are multiple devices in the same iommu group, you need to pass all of them on to the guest.
* What is passed-through is the 970GTX physical function, not a vGPU instance, because 970GTX is not vGPU capable.
3- Disable the visibility of KVM to the guest by hiding the KVM signature. Otherwise, the newer public NVIDIA drivers and tools refuse to work (Please refer to qemu commit#f522d2a for the details).
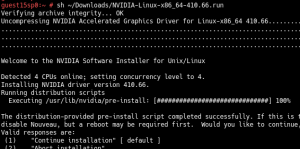
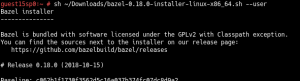
4- Install the official NVIDIA display driver in the guest:
5- Install Cuda 10, cuDNN 7.3.1 and NCCL 2.3.5 in the guest:


Build the Frameworks
Now it’s time to build the TensorFlow framework with GPU support and the Caffe framework.
As the existing whl package of TensorFlow 1.11 doesn’t support Cuda 10 yet, I built TensorFlow 1.12 from the official Git source.
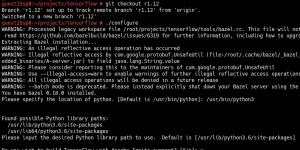

As next step, build a whl package and install it.
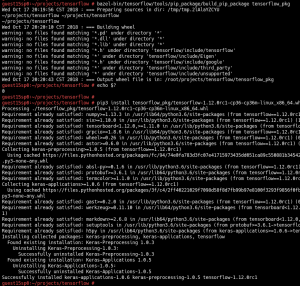
Now let’s create a simple example to test the TensorFlow GPU in the guest:
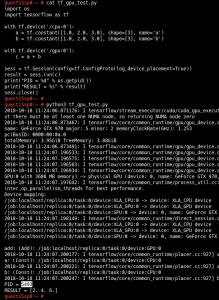
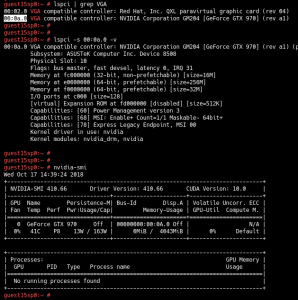
Through the nvidia-smi command, you can see the process information on GPU0 while the example code is running.

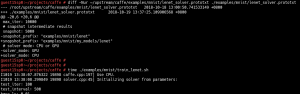
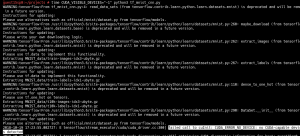
Next, let’s build the Caffe framework from the source, and the Caffe python wrapper.
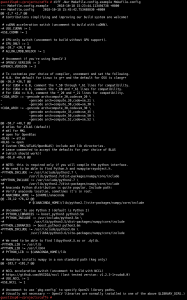
![]()


The setup is done!
Examples
Example 1.1: This is a Caffe built-in example. Please refer to http://caffe.berkeleyvision.org/gathered/examples/mnist.html to learn more.
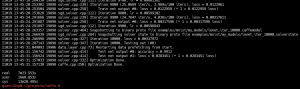
Let’s use GPU0 in a guest to train this LeNET model.
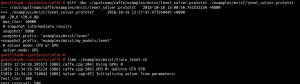
During the training progress, we should see that the loss rate presents the downward trend all the time along with continuous iteration. But as the output is too long, I will not show it here.
We got four files at the given folder after the training is done. This is because I set up the system to save the model and the training status every 5000 times. This means we get 2 files after 5000 iterations and 2 files after 10000 iterations.
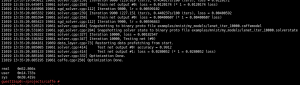
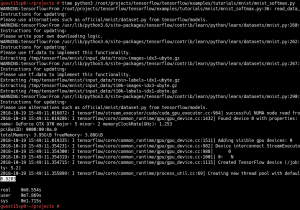
Now we got a trained model. Let’s test it with 10000 test images to see how good the accuracy is.
![]()
See? The accuracy is 0.9844. It is an acceptable result.
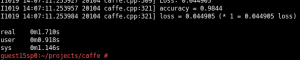
Example 1.2: Now let’s re-train a LeNET model using CPU instead of GPU – and let’s see what happens.
![]()

When we compare the GPU and the CPU, we can see that there are huge performance differences, while we train/test the LeNET with the mnist dataset.
We know that the traditional LeNET convolutional neural network (CNN) contains seven layers. Except for the input layer, the MNIST database contains 60,000 training images and 10,000 testing images. That means the performance differences become more between the training by CPU and the training by GPU when using deeper neural network layers.
Example 2.1: This example is a TensorFlow built-in example. Let’s do a very simple mnist classifier using the same mnist dataset.
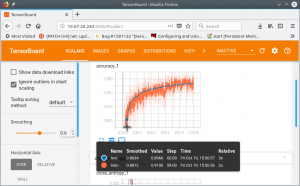
Here we go: As no convolutional layers are involved, the time consumed is quite short. It is only 8.5 seconds. But the accuracy is 0.92, which is not good enough.
If you want, you can check all details through the TensorBoard.

![]()
Example 2.2: Now we create a network with five layers CNN which is similar to the LeNET. Let’s re-train the system through GPU0 based on the TensorFlow framework.

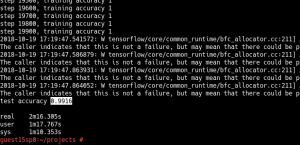
You can see now that the accuracy is 0.99 – it got much better, and the time consumed is only 2m 16s.
Example 2.3: Finally, let’s redo example 2.2 with CPU instead of GPU0, to check the performance differences.

With 0.99, the accuracy is really good now. But the time consumed is 19m 53s, which is way longer than the time consumed in example 2.2.
Summary
Finally, let’s summarize our test results:
- The training/testing performance differences are huge between CPU and GPU. They could be going into the hundreds of times if the network model is complex.
- SUSE Linux Enterprise Server 15 is a highly reliable platform whatever Machine Learning tasks you want to run on it for research or production purposes.
Related Articles
Apr 29th, 2022
SUSECON is Back! (BYOB)
Mar 05th, 2024
Connecting Industrial IoT devices at the Edge
Sep 23rd, 2022
TCS Cognix Enterprise CaaS Solution with SUSE Rancher
May 19th, 2022
Comments
would like to discuss this with SUSE team. call me or email me .
Hi rushi, thanks for your comment! Lin Ma, the author of this blog article, will get in contact with you. Kind regards!