Set up a Local DNS Server to Have Access to Multiple DNS Zones
Setup a local DNS server to have access to multiple DNS zones like internet and internal net
Problem:
You want to have access (name resolution) for the internet and also for an internal network, but neither the name server for the internet (providers name server) nor the internal one take care of the other area.
Solution:
While dns clients usual could try to connect multiple name servers in sequence, they only connect to the second or third name server, if the precursor one did not reply to the dns request. But when a name server tells that it could not solve the request the dns client does not ask any further servers.
This can be solved by a local running dns server. This local dns server will be configured to serve both areas (called zones in the bind language).
This cool solution is based on SLE10.
Procedure
The dns domain names (example.com, example.org) in the following steps are example values used for documentation (see also RFC 2606, Section 3).
Package installation
You need the packages bind and bind-chrootenv.
Starting the YaST configuration module
As user root start the yast dns server configuration module:
yast dns-server
If you configure your dns server the first time the yast screens could be a bit different. If you come back to the dns server configuration once more the following screen shots should match.
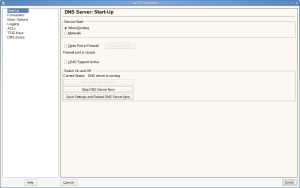
Configure DNS-Startup
In our sample we select to startup the dns server during system boot.
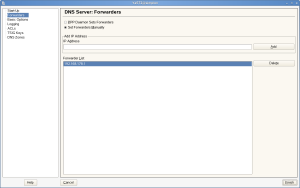
Configure DNS Forwarders
To have access to the internet name resolution we first add the name server addresses of this default area and zones. We do not add the internal name server here, this will be done when configuring an additional special zone.
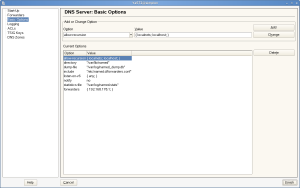
Configure DNS Basic Options
Check the following screen shot for some sample basic options.
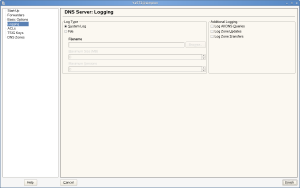
Configure DNS-Logging, ACLs and TSIG-Keys
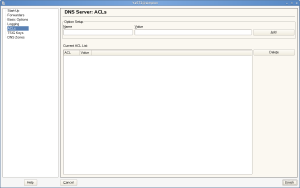
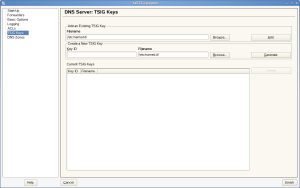
In our sample setup we do not change the setting of the sections “DNS-Logging”, “ACLs” and “TSIG-Keys”.
Configure DNS Zones
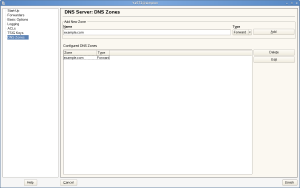
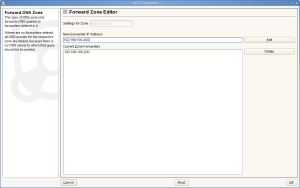
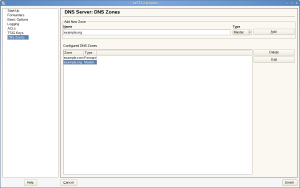
In this step we define the internal zone, which is resolved by an internal name server. Our sample zone is “example.com”. Select zone type “forward”. Just add the zone then use the edit button to add the details like the internal name server address.
We can now add an additional optional internal zone, which will be handled by the local name server itself. First we add the zone “example.org”.
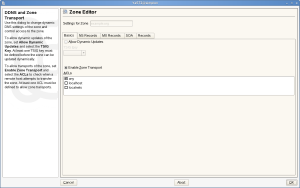
In the next step you might configure the contents of your additional zone like acl, name service entries.
Related Articles
Apr 11th, 2025
Choosing the Right Linux Server OS for Your Enterprise Needs
Nov 06th, 2024
Comments
Hello. Sadly the images are broken.